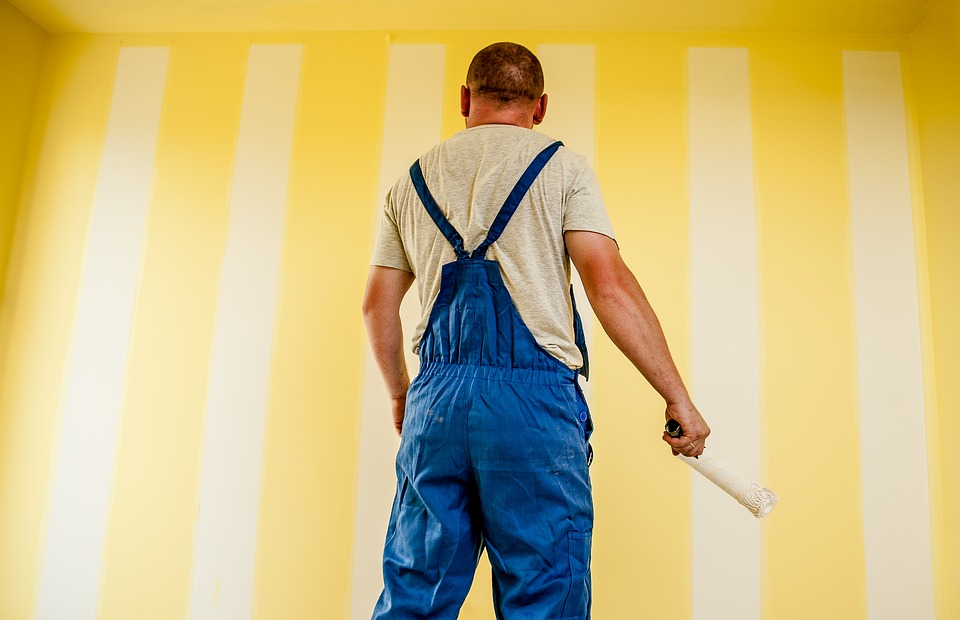
If you have decided it’s time to get rid of your old wallpaper so that you can do some interior painting, there’s a few important things to know. Removing wallpaper is a challenge to say the least, so we highly recommend using a professional service to save you the time and labor. But if you have decided to tackle your outdated wall coverings on your own, here are the important steps to take to make sure your walls are properly prepped for painting.
1. Score the Wallpaper
This is an important step to create breaks in the paper for the solution to soak through and penetrate the adhesive that fixes the paper to the walk.
2. Get Your Solution Ready
You can buy commercial solutions that are designed for removing wallpaper. When mixing them, be sure to keep the water hot while you’re using it on your walls. To achieve this, make small batches as you work.
3. Protect and Apply
Be sure to cover your carpet, floors and furniture with protective plastic sheets. Once you’re ready, fill a spray bottle with your hot solution and drench wallpaper in small sections. Let the solution soak in for a few minutes before stripping – you want to make sure it fully penetrates the adhesive.
4. Strip It
Start from the bottom and slowly pull the wallpaper upwards. If you need help getting under the paper, a putty knife is a handy tool to help loosen paper from the wall. This is the most important step because if you take it slow and do it correctly, your work will be infinitely faster and easier when you start your interior painting.
5. Wash Walls
You can wash the walls with a number of mixtures: detergent and warm water or trisodium phosphate (TSP) with warm water are popular choices. Be sure to wear gloves for protection and scrub the wall lightly with your solution of choice. Make sure you don’t get the wall too wet and let them dry completely before the next step.
6. Sand Down Remaining Adhesive
This is when having your walls professional done comes in handy – you get to avoid this laborious step! Grab some sandpaper and slowly sand down any remaining adhesive to makes sure your wall’s surface is completely smooth.
7. Repair Crevices
Sometimes removing wallpaper can leave your wall with some undesired damages. You can use a joint compound to fill in any gashes with a drywall knife.
8. Prime Walls for Paint
You will definitely want to prime your walls before attempting any interior painting. Be sure to seal any remaining paper backing with primer that you couldn’t get off so that it doesn’t lift through the paint later. Once your wall is primed and dry, you’re ready to paint!
The trickiest part about wallpaper removal is that if you don’t do it right, it can cause issues with your paint job down the road. Hire our professional contractors to get the job done right the first time without the hassle. They’re trained experts in wallpaper removal and application as well as all aspects of house painting.


